
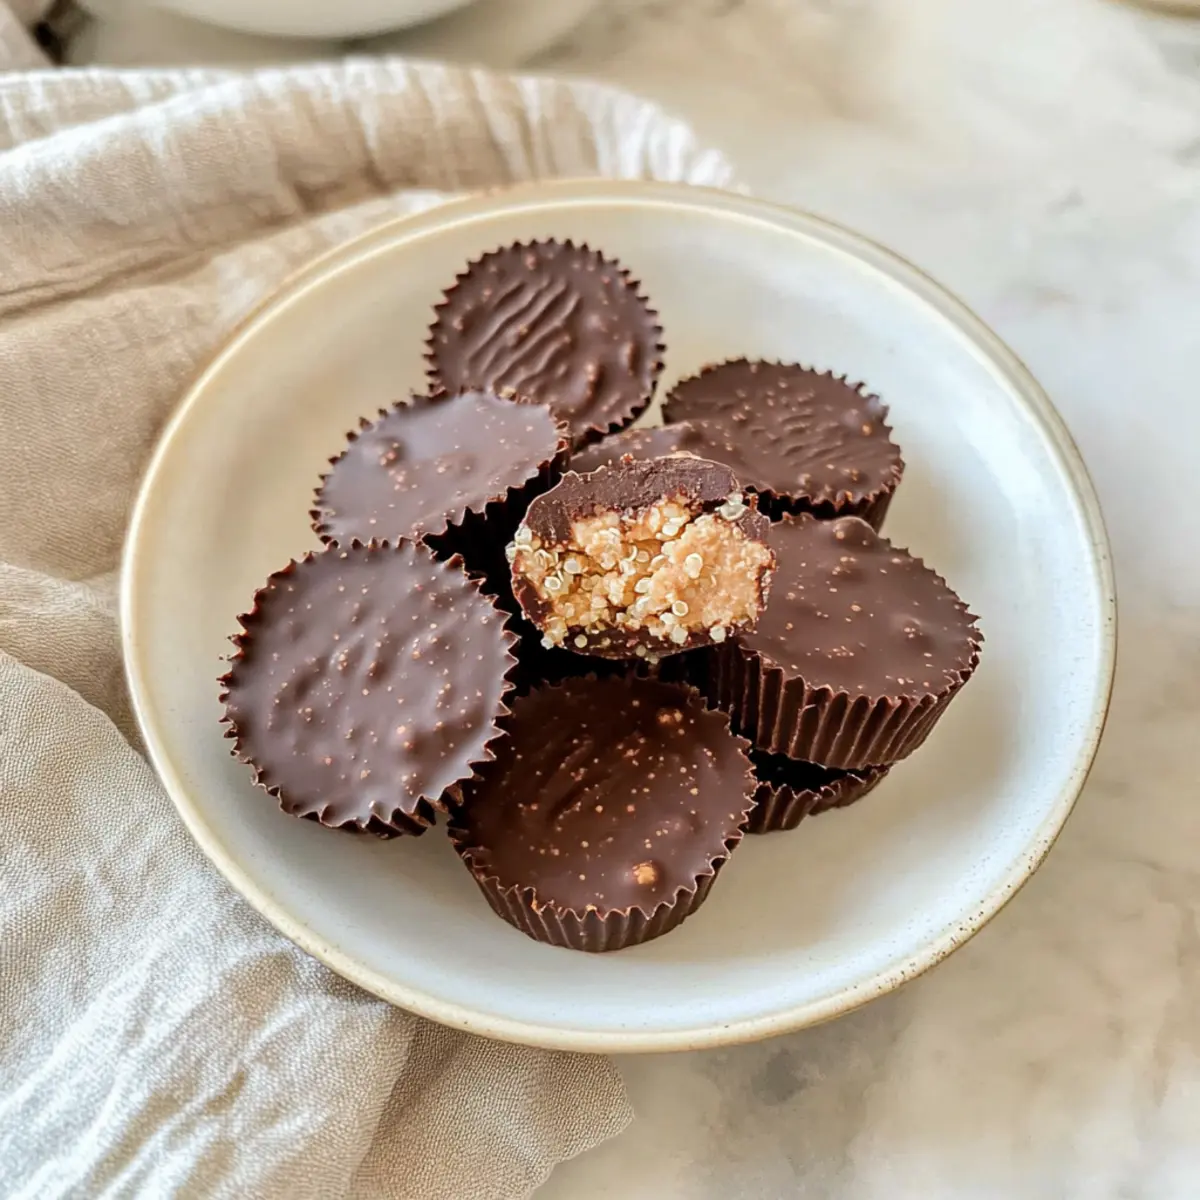
As I stood in my kitchen, the sweet aroma of melting dark chocolate wafted through the air, instantly lifting my spirits. Today, I’m diving into a guilt-free treat that’s both easy to whip up and utterly satisfying: Quinoa Crunch Peanut Butter Cups. This no-bake delight marries the rich creaminess of peanut butter with the delightful crunch of quinoa crisps, making it a vegan and gluten-free dessert you can feel great about. Plus, with its quick prep time and minimal clean-up, you’ve got a delicious snack ready to face whatever the day throws at you. Are you ready to indulge in these heavenly bites? Let’s get started!
Why Choose Quinoa Crunch Cups?
Guilt-Free Indulgence: Enjoy the rich taste of chocolate and peanut butter without the guilt, thanks to this vegan and gluten-free recipe.
Quick & Easy: These cups are a breeze to make, with minimal prep time and no baking involved.
Unique Texture: The combination of creamy peanut butter and crunchy quinoa gives each bite a satisfying crunch.
Versatile Options: Feel free to swap in your favorite nut butter or add in nuts for extra nutrition.
Crowd-Pleasing Delight: Perfect for sharing at gatherings or enjoying alone, these treats will have everyone asking for more!
For even more delicious no-bake ideas, check out my Buttermilk Donut Bars or try these Cozy Garlic Butter bites!
Quinoa Crunch Peanut Butter Cups Ingredients
• For the Chocolate Coating
- Dark Chocolate – Rich and smooth, it forms a decadent layer; try vegan milk or white chocolate as a substitute.
- Coconut Oil – Helps create a silky melted chocolate; avocado oil works well as a neutral substitute.
• For the Peanut Butter Filling
- Peanut Butter – Creamy and flavor-packed, opt for natural varieties without added sugars for best results.
- Maple Syrup – Adds a hint of sweetness to balance the flavor; agave syrup or honey can be used instead.
- Coconut Flour – Thickens the mixture; you can omit it or use almond flour for a gluten-free option.
• For the Crunch Element
- Quinoa Crisps – These provide that signature crunch; feel free to purchase or make your own.
Get ready to create these Quinoa Crunch Peanut Butter Cups that are as delightful to make as they are to eat!
Step‑by‑Step Instructions for Quinoa Crunch Peanut Butter Cups
Step 1: Melt the Chocolate
Begin by combining 1 cup of dark chocolate and 2 tablespoons of coconut oil in a microwave-safe bowl. Heat in 30-second increments, stirring after each, until the mixture is smooth and glossy, which should take about 1.5 to 2 minutes. This melted chocolate will serve as a delicious coating for your Quinoa Crunch Peanut Butter Cups.
Step 2: Prepare the Crunch Mixture
Once the chocolate is melted, stir in 2 tablespoons of peanut butter and 3 tablespoons of quinoa crisps until everything is well combined. This mixture will add rich creaminess and a delightful crunch to your cups. Set it aside to cool slightly while you work on the peanut butter filling.
Step 3: Make the Peanut Butter Filling
In a separate bowl, mix 1/3 cup of peanut butter with 2 tablespoons of maple syrup. Stir until smooth, then gently fold in 2 tablespoons of coconut flour, which will help thicken your filling. The resulting mixture should be thick and scoopable, perfect for creating that satisfying center of your Quinoa Crunch Peanut Butter Cups.
Step 4: Assemble the Cups
Grab your silicone cupcake liners and spoon about 1/2 tablespoon of the chocolate mixture into the bottom of each liner. Spread it to cover the base evenly. This layer acts as a delicious chocolate foundation for your cups and will help create a delightful contrast with the filling.
Step 5: Add the Peanut Butter Filling
Form 1 teaspoon of the peanut butter mixture into a ball, then flatten it slightly to fit the base of your cups. Carefully place this ball in the center of each chocolate-lined silicone liner. This step helps to form the heart of your Quinoa Crunch Peanut Butter Cups, ensuring each bite is packed with flavor.
Step 6: Top with More Chocolate
Spoon the remaining chocolate mixture over each peanut butter ball, ensuring it covers the filling completely. Use the back of your spoon to smooth the chocolate over the tops of each cup. This creates a beautifully finished layer of rich chocolate that seals in the delightful flavors hiding below.
Step 7: Freeze to Set
Place the assembled cups in the freezer for about 30-40 minutes, or until the chocolate is completely firm. You’ll know they’re ready when the tops look shiny and have a slight snap when poked. After they set, they will become the perfect treat to satisfy your cravings anytime.
Step 8: Remove and Enjoy
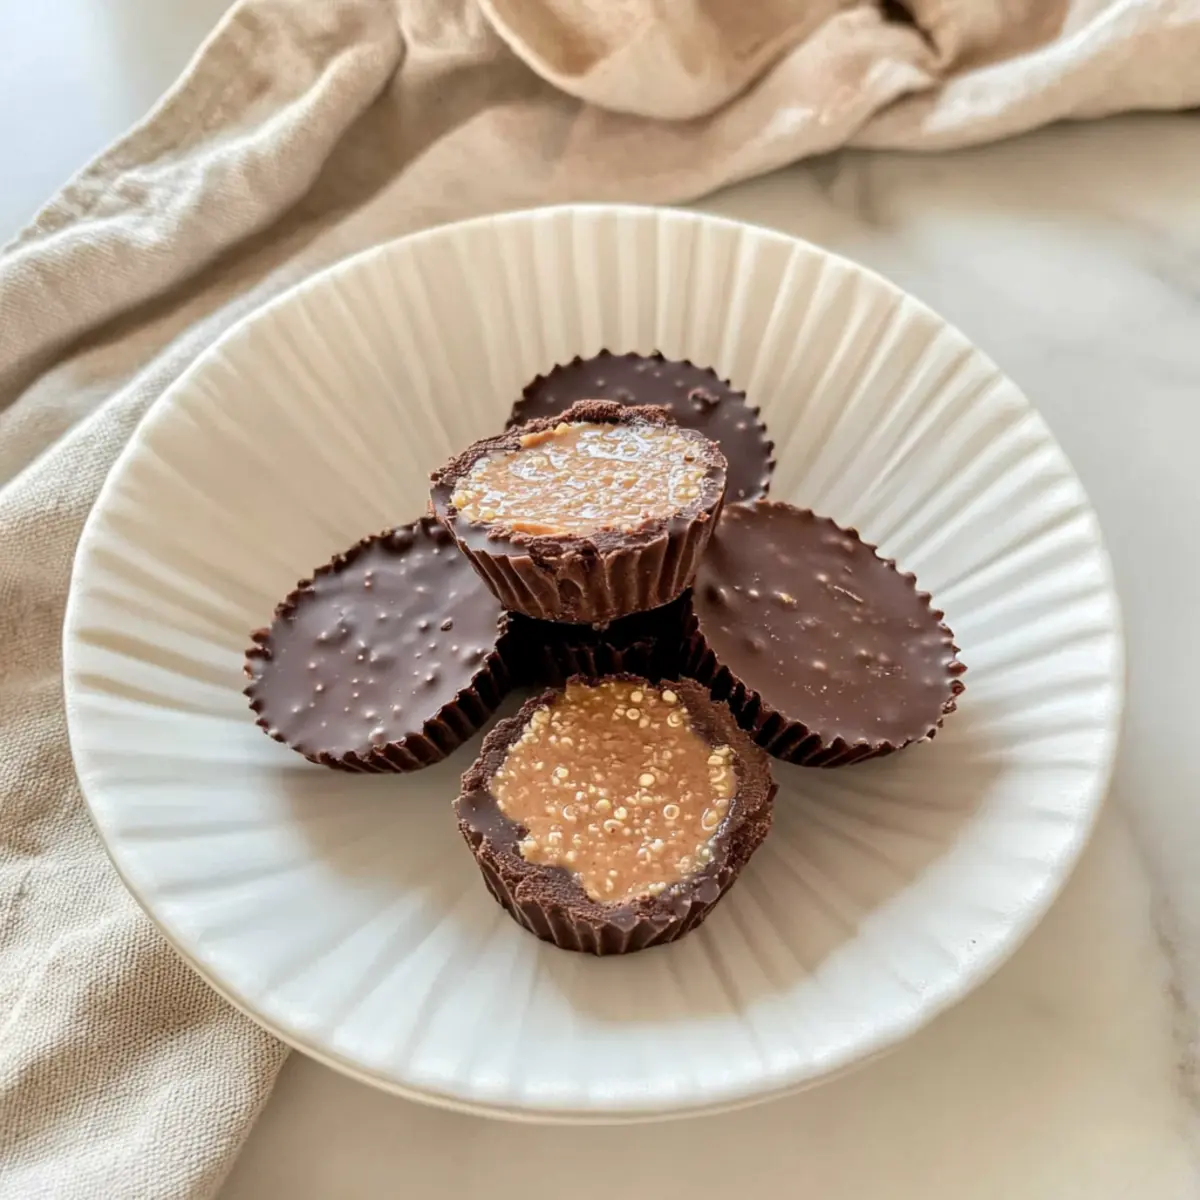
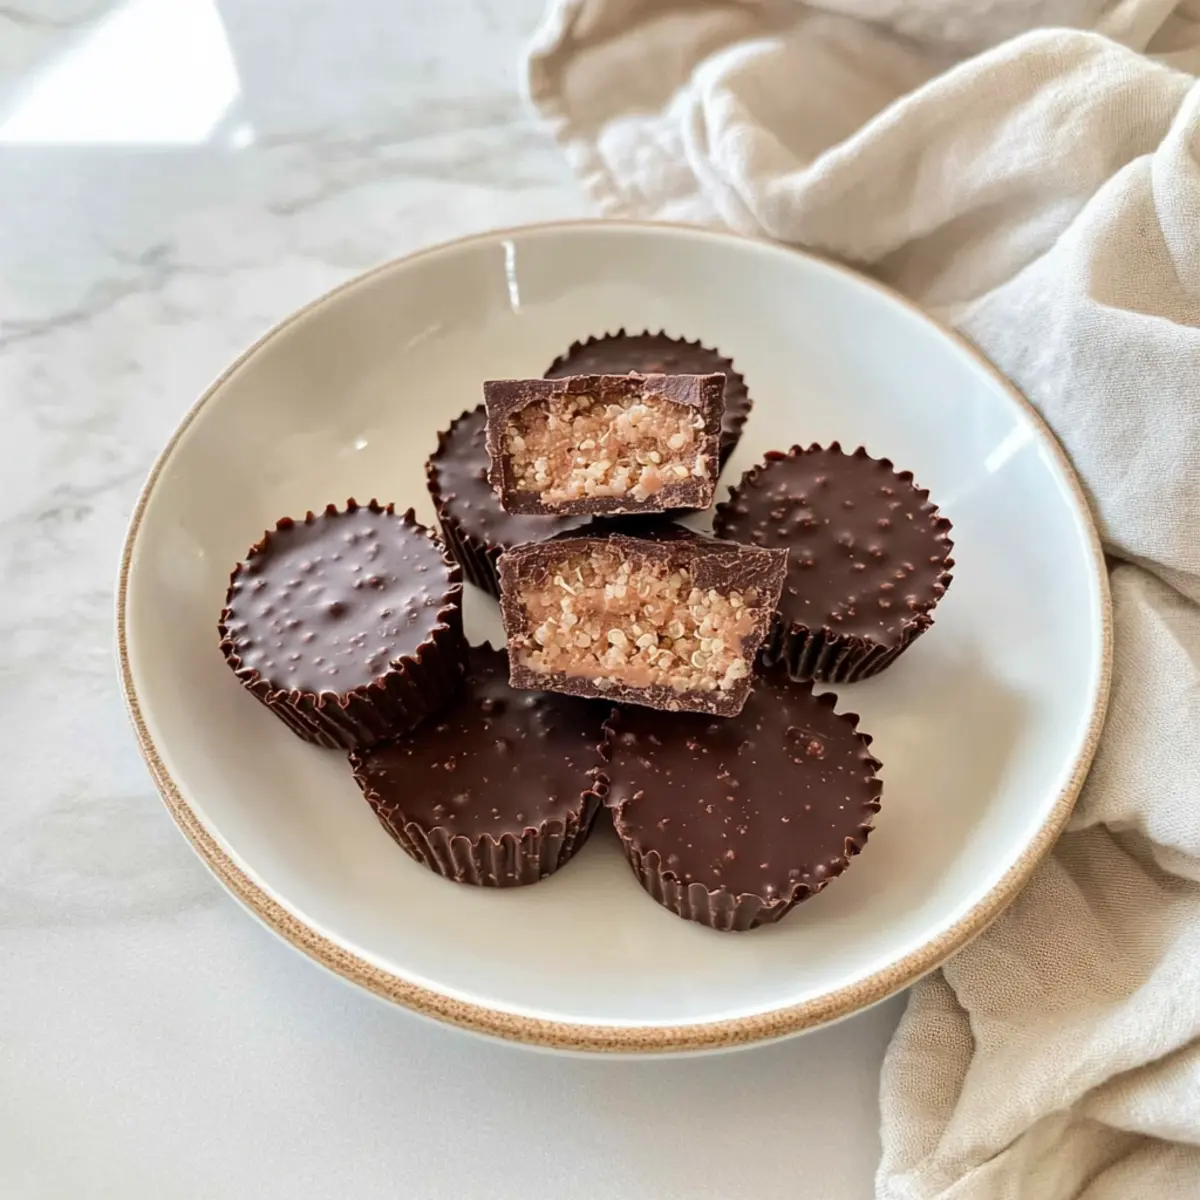
Once set, gently peel the silicone liners away from each Quinoa Crunch Peanut Butter Cup. With their vibrant chocolate coating and crunchy texture, these treats are ready to be enjoyed! Store any leftovers in an airtight container in the fridge or freezer, making sure to have them on hand for your next guilt-free indulgence.

Storage Tips for Quinoa Crunch Peanut Butter Cups
- Room Temperature: Keep your cups at room temperature for up to 3 days in an airtight container to maintain their delicious texture and flavor.
- Fridge: Store in the refrigerator for up to 30 days; place them in an airtight container to prevent any moisture or odors from impacting your Quinoa Crunch Peanut Butter Cups.
- Freezer: For longer storage, freeze these tasty treats for up to 60 days in a sealed container or freezer bag, ensuring they’re well-wrapped to avoid freezer burn.
- Reheating: Enjoy the cups straight from the fridge or freezer; no reheating necessary! Just let them sit for a few minutes if frozen for easier biting.
What to Serve with Quinoa Crunch Peanut Butter Cups
These delightful treats are not just a snack; they can elevate your whole dessert experience!
-
Fresh Berries: Bright and juicy, berries like strawberries or raspberries provide a refreshing contrast to the rich, creamy cups, perfect for balancing flavors.
-
Coconut Whipped Cream: Light and fluffy, this dairy-free topping offers a luscious creaminess that enhances the decadent nature of the peanut butter cups.
-
Nutty Granola: A sprinkle of homemade granola brings crunch and a wholesome touch, making for a delightful combination of textures in your treat time.
-
Dark Chocolate Bark: Pair these cups with dark chocolate bark studded with nuts for an indulgent, chocolatey experience that adds variety to your dessert spread.
-
Mocha Iced Coffee: The deep, rich flavor of a chilled mocha coffee complements the sweetness of the cups, offering a delightful way to savor your afternoon snack.
-
Creamy Almond Milkshake: A velvety almond milkshake provides a sweet, nutty flavor that meshes beautifully with the peanut butter in the cups, creating a satisfying, drinkable treat.
Quinoa Crunch Peanut Butter Cups Variations
Feel free to get creative and put your unique spin on these delightful treats!
- Nut Butter Swap: Use almond or cashew butter instead of peanut butter for a different flavor profile. Each nut butter brings its own charm to the recipe!
- Sweetener Alternatives: Exchange maple syrup for honey or agave syrup to suit your taste preferences. The sweetness can truly transform the cups!
- Crunch Factor: Add in some chopped nuts or seeds like sunflower seeds for extra texture and nutrition. The more crunch, the merrier!
- Flavor Boost: Infuse with a dash of sea salt or vanilla extract for a flavor explosion that harmonizes beautifully with the chocolate. These tiny additions make a world of difference.
- Chocolate Options: Swap dark chocolate for white chocolate for a sweeter twist, or try using milk chocolate if you’re not strictly vegan. Each option offers a new treat!
- Grain Variants: Replace quinoa crisps with rice cereal or puffed millet for a lighter crunch that’s equally satisfying. Try experimenting with different grains for a fresh take!
- Spicy Kick: Stir in a pinch of cayenne pepper or chili flakes to add a little warmth to your sweet treat. It’s a bold move that might just surprise you!
For more delicious options inspired by healthy ingredients, don’t miss my Garlic Butter Roasted recipe that’s bursting with flavor or check out how to whip up a savory Cozy Garlic Butter dish for dinner!
Expert Tips for Quinoa Crunch Peanut Butter Cups
- Use Silicone Liners: Ensure to use silicone cupcake liners for easy removal and a mess-free experience. They make for the perfect mold!
- Watch the Chocolate: Be cautious not to overheat the chocolate; stir continuously and heat in short increments to avoid burning.
- Customize Your Crunch: Feel free to substitute quinoa crisps with other crunchy elements like rice cereal or chopped nuts for a unique twist on your Quinoa Crunch Peanut Butter Cups.
- Level Ingredients: When measuring peanut butter or maple syrup, ensure to level the ingredients off for consistent flavor and texture.
- Chill Properly: Let the cups freeze for the recommended time to ensure they hold their shape and provide that satisfying snap when bitten into!
Make Ahead Options
These Quinoa Crunch Peanut Butter Cups are perfect for meal prep, allowing you to enjoy a guilt-free treat anytime! You can prepare the chocolate and peanut butter mixtures up to 24 hours in advance. Simply melt the dark chocolate and coconut oil, then mix in the quinoa crisps; refrigerate this mixture. For the peanut butter filling, blend the peanut butter, maple syrup, and coconut flour, and store it in an airtight container in the fridge. When you’re ready to assemble, simply scoop the chocolate mixture into silicone liners, add the filling, top with more chocolate, and freeze until set. These steps ensure that your cups maintain their delicious quality while saving you time during busy weeknights!
Quinoa Crunch Peanut Butter Cups Recipe FAQs
What kind of quinoa crisps should I use?
You can use store-bought quinoa crisps for convenience, or you can easily make your own by toasting cooked quinoa in a skillet until crunchy. Look for puffed varieties that are light and airy, as they provide the best texture for your cups.
How long can I store Quinoa Crunch Peanut Butter Cups?
These delightful treats can be stored at room temperature for up to 3 days in an airtight container. However, for optimal freshness, it’s best to keep them in the fridge for up to 30 days. If you’re looking to save them for a longer period, they can be frozen for up to 60 days. Just make sure they’re in a well-sealed container to prevent freezer burn!
Can I freeze these peanut butter cups?
Absolutely! To freeze your Quinoa Crunch Peanut Butter Cups, first, place them in a single layer on a baking sheet and freeze for about an hour. After they’re firm, transfer them to a freezer-safe container or bag layered with parchment paper. This method prevents them from sticking together, allowing for easy snacking later on.
What if the chocolate is too thick or won’t melt properly?
If you find your chocolate is too thick or isn’t melting properly, ensure you’re using good-quality chocolate and following the 30-second heating increments while stirring. If it still seems thick, you can add a teaspoon of coconut oil to help thin it out and achieve a smoother consistency. Just remember to stir continuously!
Are there any nut allergies I should consider?
Yes! Since peanut butter is a key ingredient in this recipe, be cautious if you or anyone you serve has a peanut allergy. You can easily substitute peanut butter with other nut butters like almond or cashew butter, but be mindful of cross-contamination if nut allergies are a concern.
Can I substitute the maple syrup in this recipe?
Definitely! If you don’t have maple syrup on hand, feel free to use agave syrup, honey, or coconut sugar as alternatives. Just keep in mind that using honey makes the recipe not vegan. Each alternative will alter the final flavor slightly, but you’ll still be left with delicious Quinoa Crunch Peanut Butter Cups!
Quinoa Crunch Peanut Butter Cups for Guilt-Free Indulgence
Ingredients
Equipment
Method
- Melt the chocolate by combining dark chocolate and coconut oil in a microwave-safe bowl. Heat in 30-second increments until smooth, about 1.5 to 2 minutes.
- Prepare the crunch mixture by stirring in peanut butter and quinoa crisps into the melted chocolate until well combined.
- Make the peanut butter filling by mixing peanut butter with maple syrup, then gently fold in coconut flour.
- Assemble the cups by spooning chocolate mixture into the bottom of silicone liners to cover evenly.
- Add the peanut butter filling by forming it into a ball and placing it in the center of each chocolate-lined liner.
- Top with remaining chocolate mixture to completely cover the peanut butter filling.
- Freeze the assembled cups for about 30-40 minutes until the chocolate is firm.
- Remove the silicone liners and enjoy your Quinoa Crunch Peanut Butter Cups!
Leave a Reply