
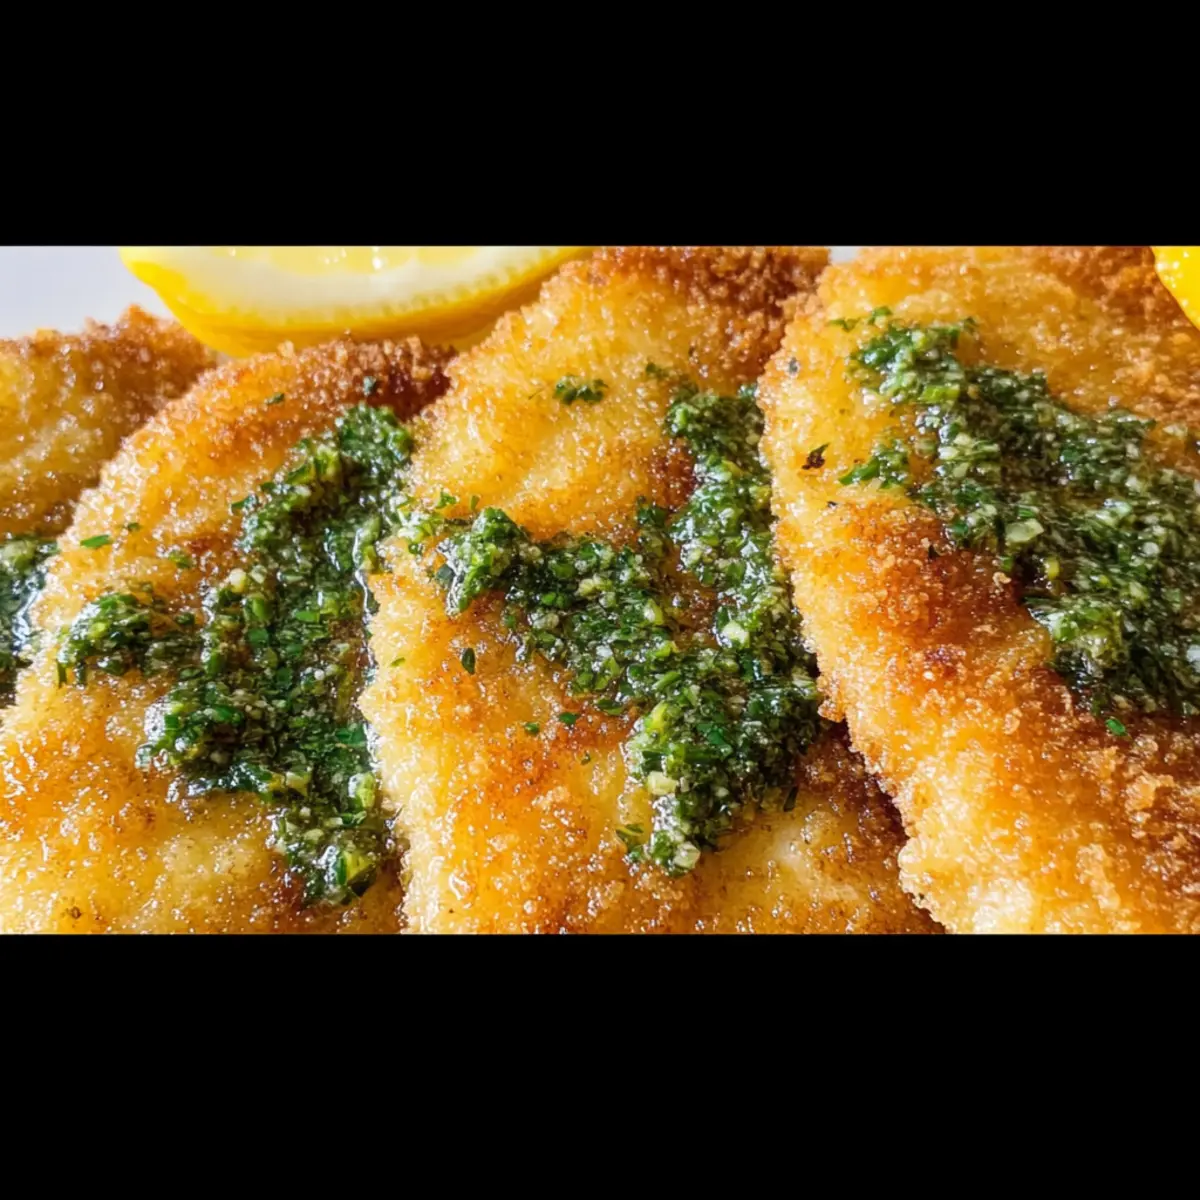
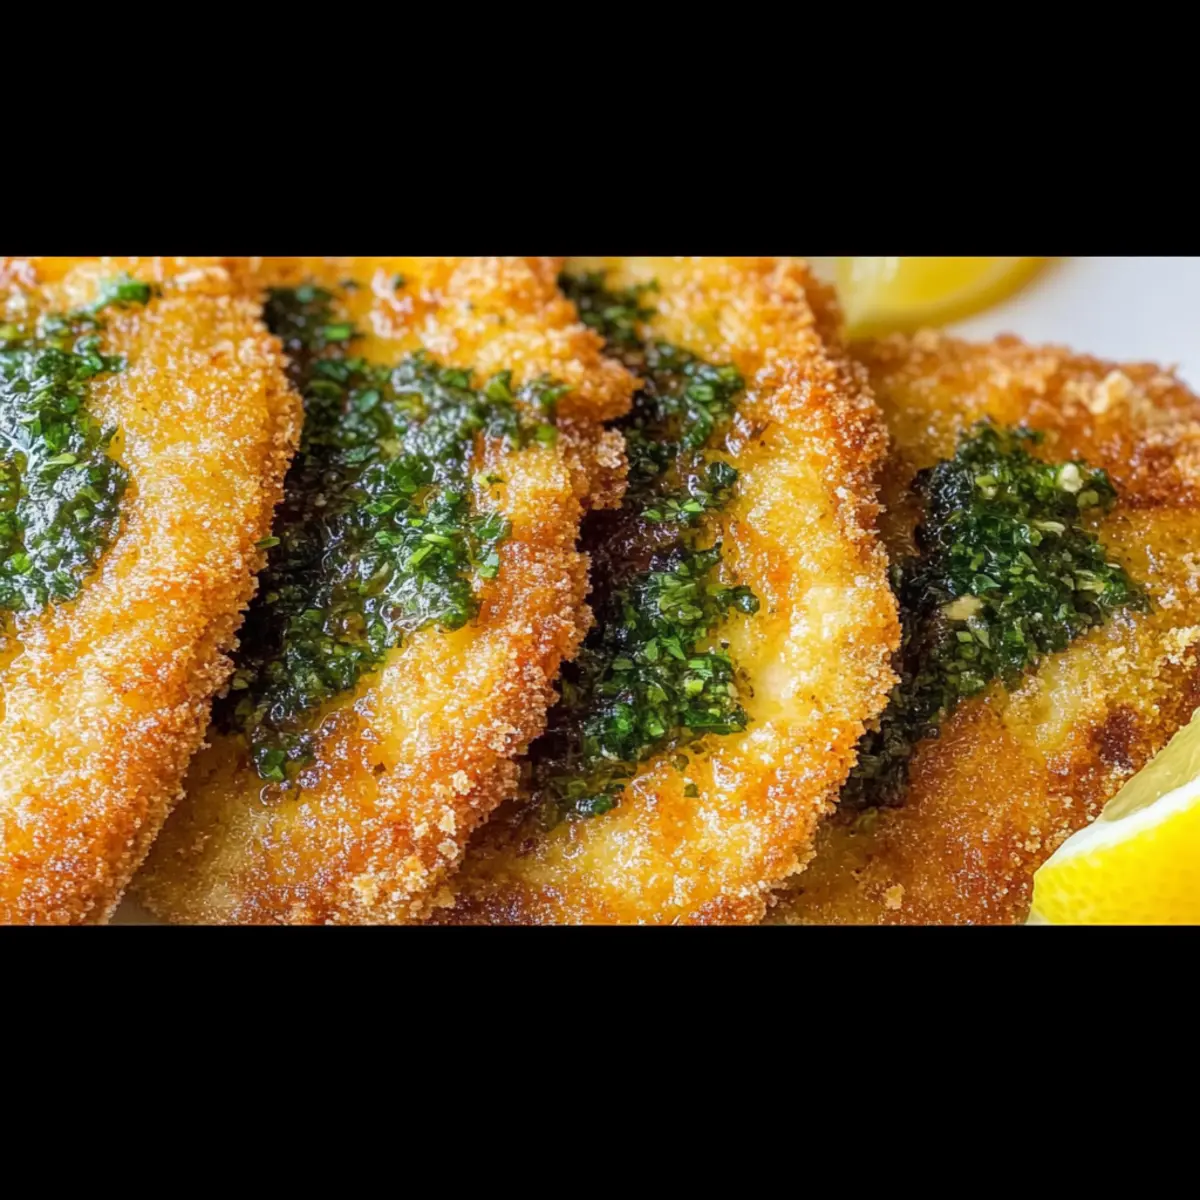
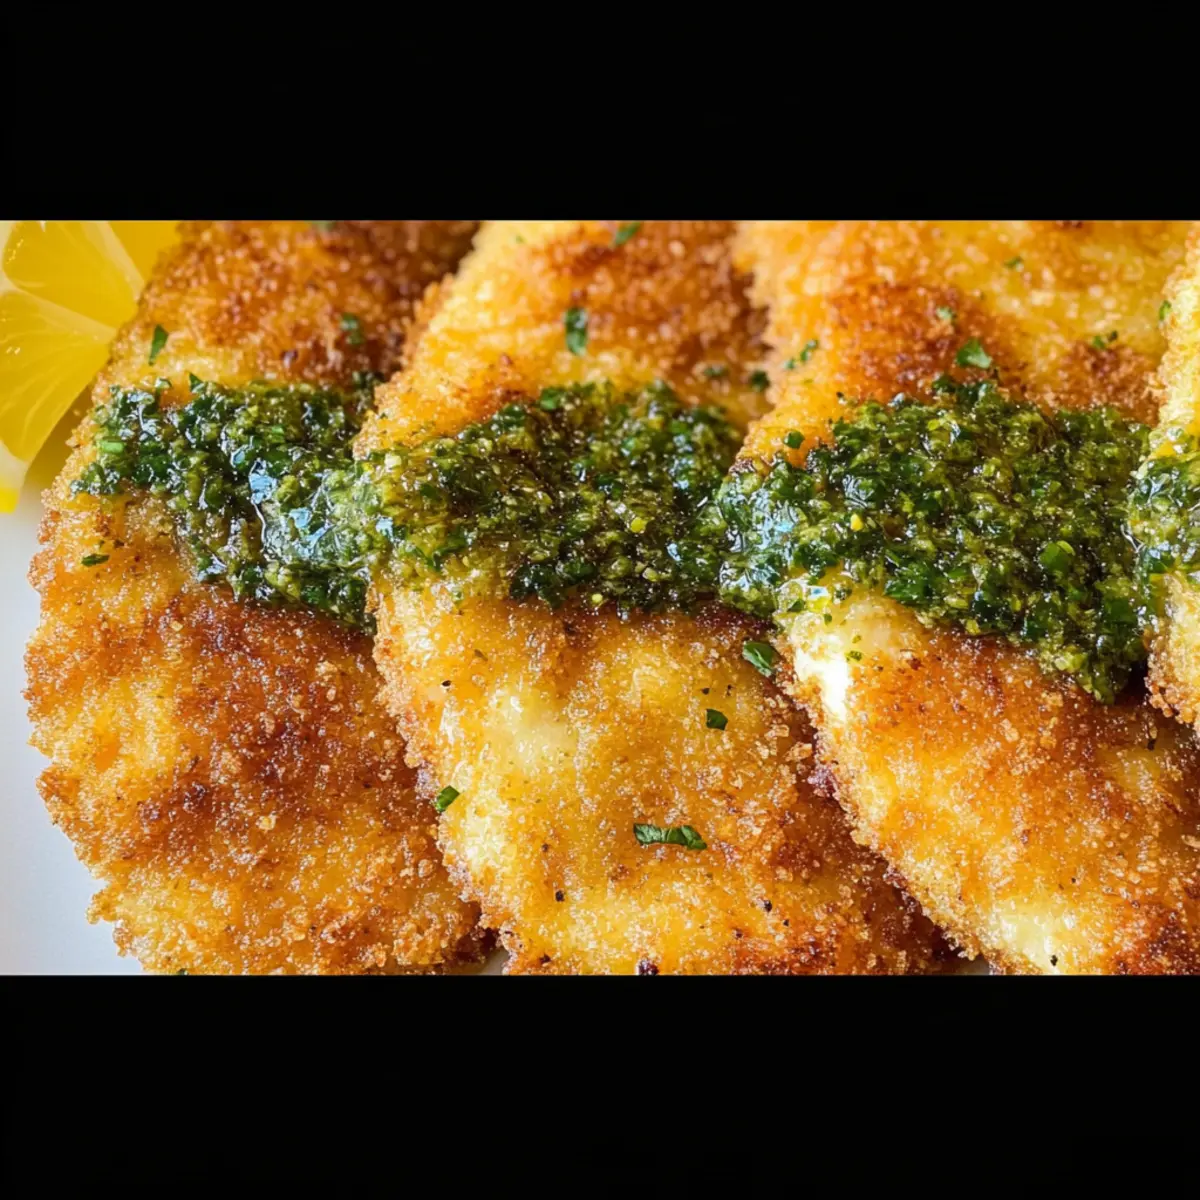
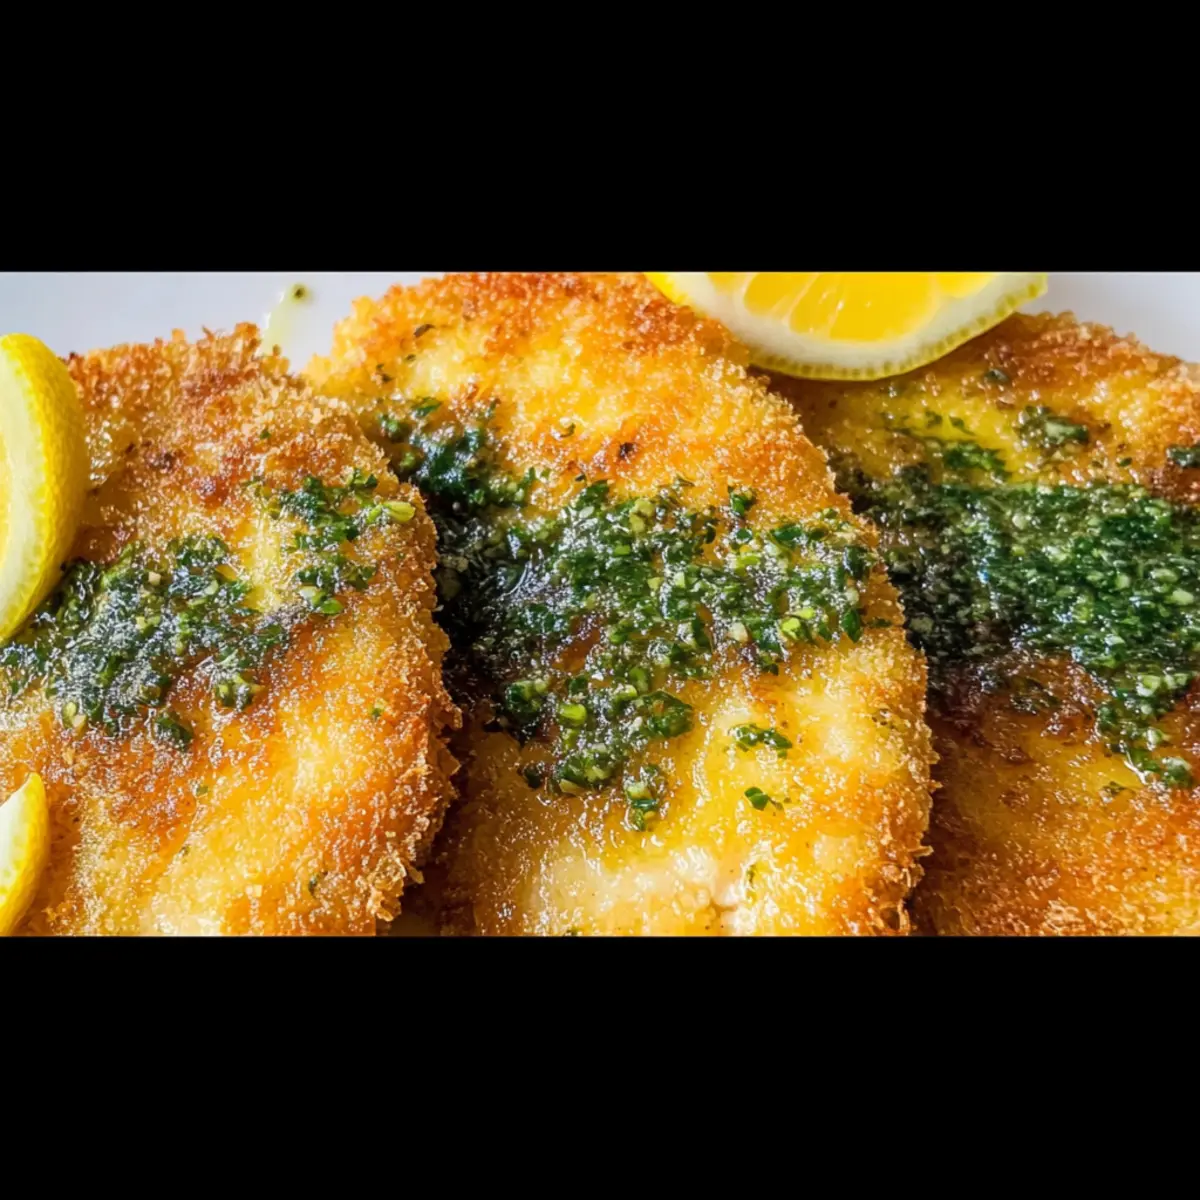
The rich aromas of Italy wafted through my kitchen as I prepped one of my favorite comfort dishes: Chicken Salmoriglio. This delightful recipe showcases perfectly golden brown, crispy chicken cutlets, draped with a zesty lemon herb sauce that takes just an hour and forty-five minutes from prep to plate. It’s a marvelous way to enjoy a gourmet experience in the comfort of your home—ideal for both a cozy family dinner and impressing guests at a special gathering. With its quick prep time and the capability to transform simple ingredients into a sensory feast, you’ll find this dish not only a crowd-pleaser but also a fresh addition to your cooking repertoire. Are you ready to embrace this taste of Mediterranean goodness?
Why Is Chicken Salmoriglio So Irresistible?
Crispy, golden perfection: Each bite of chicken is coated in a crunchy panko layer, ensuring maximum texture delight. Zesty herb sauce: The bright and fragrant salmoriglio sauce elevates this dish, perfectly balancing the richness of the chicken. Easy to prepare: You don’t need culinary expertise; just follow the straightforward steps to achieve gourmet results. Versatile alternative: Feel free to swap chicken for shrimp or fish for a delightful twist. Whether enjoyed solo or paired with garlic green beans or roasted veggies, this dish is as wholesome as it is delicious!
Chicken Salmoriglio Ingredients
For the Chicken
• Chicken Breasts – Boneless and skinless are best for convenience and tenderness.
• Flour – Creates a crispy coating; gluten-free flour can substitute for a gluten-free version.
• Eggs – Helps bind breadcrumbs to chicken; using a bit of water makes the mixture easier to work with.
• Panko Breadcrumbs – Delivers extra crunchiness; regular breadcrumbs can be used for a denser texture.
• Parmesan Cheese – Grated for flavor enhancement in the breadcrumb coating; try nutritional yeast for a dairy-free alternative.
• Butter – Used for frying and adds richness to the chicken.
For the Marinade
• Lemon Zest – Fresh zest from two lemons adds bright citrus aroma; this is key to the Chicken Salmoriglio’s flavor.
• Garlic – Minced for aromatic depth; always opt for fresh garlic when possible.
• Extra Virgin Olive Oil – Moisture for the marinade; avocado oil works well as a substitute for a different flavor.
• Dry Oregano – Provides a lovely herbaceous note; Italian seasoning can replace it if needed.
• Kosher Salt – Enhances all flavors; feel free to substitute table salt, but adjust the amount due to its saltiness.
• Black Pepper – Freshly ground adds a mild heat; always better than pre-ground for quality.
For the Sauce
• Remaining Marinade – Use the leftover marinade combined with lemon juice and parsley to create the zesty salmoriglio sauce.
• Fresh Parsley – Chopped for garnish in the sauce; it brightens the overall presentation and flavor.
Get ready to experience a mouthwatering plate of Chicken Salmoriglio, where each crunch tempts the palate and each bite tells a flavorful story!
Step‑by‑Step Instructions for Chicken Salmoriglio
Step 1: Prepare the Chicken
Begin by butterflying the chicken breasts, then cut them into evenly sized portions to ensure even cooking. This step is essential for your Chicken Salmoriglio, as it promotes tenderness. Once done, let the chicken rest while you prepare the marinade to soak in all those delicious flavors.
Step 2: Marinate the Chicken
In a mixing bowl, whisk together lemon zest, minced garlic, olive oil, oregano, salt, and pepper until well combined. Pour half of this zesty marinade over the chicken pieces, ensuring each piece is well coated. Allow the chicken to marinate for at least 1 hour, and if time permits, refrigerate it longer for enhanced flavor.
Step 3: Preheat the Oven
While the chicken marinates, preheat your oven to 400°F (200°C). Line a baking tray with parchment paper to prevent sticking and make cleanup easier. This step readies your kitchen for the final cooking phase of your Chicken Salmoriglio, ensuring everything is set for a perfect finish.
Step 4: Set Up Breading Stations
Create your breading station by setting out three shallow dishes. Place flour in the first, whisk together eggs and a tablespoon of water in the second, and mix panko breadcrumbs with grated Parmesan in the third. This organized approach will make it easy to bread your Chicken Salmoriglio with minimal mess and efficient workflow.
Step 5: Bread the Chicken
Take each marinated chicken piece and dredge it first in flour, shaking off any excess. Next, dip it into the egg mixture, allowing it to coat nicely, and finally press it into the panko and Parmesan mixture, ensuring a good amount sticks. Repeat this process until all pieces are coated, preparing them for frying.
Step 6: Fry the Chicken
In a large skillet, heat a combination of butter and oil over medium-high heat until shimmering. Carefully place the breaded chicken cutlets in the hot skillet, frying them for 2-3 minutes per side until they achieve a lovely golden-brown color. This frying step is crucial for the crispy texture that makes Chicken Salmoriglio so appealing.
Step 7: Bake the Chicken
Once fried, transfer the chicken to the prepared baking tray, brushing each piece with melted butter for added flavor. Place the tray in the preheated oven and bake for an additional 5-10 minutes, or until the internal temperature reaches 155°F (68°C). This ensures your Chicken Salmoriglio is fully cooked while retaining its juiciness.
Step 8: Make the Sauce
While the chicken bakes, grab the remaining marinade and mix it with fresh lemon juice and chopped parsley in a small bowl to create the salmoriglio sauce. This vibrant, zesty sauce is the final touch that elevates your Chicken Salmoriglio, providing a refreshing contrast to the crispy chicken.
Step 9: Serve the Dish
Once the chicken is done baking, remove it from the oven and let it rest for a few minutes. Serve each chicken cutlet topped with the zesty salmoriglio sauce and garnish with lemon wedges. This presentation makes your Chicken Salmoriglio not only a feast for the taste buds but also a vibrant dish for the eyes.
What to Serve with Crispy Chicken Salmoriglio
Complement your dining experience with delicious sides that enhance this flavorful entrée.
-
Garlic Green Beans: The crisp-tender beans sautéed with garlic add a lovely crunch, balancing the richness of the chicken. Their vibrant green color is a feast for the eyes!
-
Roasted Baby Potatoes: Golden, buttery potatoes seasoned with herbs create a hearty side that pairs beautifully with the zesty flavors of salmoriglio.
-
Creamy Risotto: Velvety risotto infused with lemon or herbs provides a comforting, creamy texture that complements the crispy chicken.
-
Caesar Salad: This classic salad with crisp romaine, creamy dressing, and crunchy croutons offers a fresh contrast, keeping your meal light and satisfying.
-
Grilled Corn on the Cob: Sweet, charred corn brushed with butter echoes summer flavors, adding a sweet touch that balances the savory chicken.
-
Lemonade Spritzers: Light and refreshing, these sparkling drinks with citrus overtones are a delightful accompaniment that enhance the overall meal experience.
-
Tiramisu: Finish your Italian feast with the rich coffee flavors of tiramisu, a perfect sweet endnote to your savory Chicken Salmoriglio.
Chicken Salmoriglio Variations & Substitutions
Feel free to let your creativity shine by customizing this delightful Chicken Salmoriglio to your taste!
- Seafood Delight: Swap chicken for shrimp or white fish to enjoy a fresh seafood version that’s bursting with flavor.
- Healthier Option: Consider grilling the chicken instead of frying to reduce calories while maintaining a deliciously smoky flavor.
- Herb Fusion: Experiment with fresh herbs in the salmoriglio sauce, like basil or cilantro, for a unique twist on the classic profile.
- Spice it Up: Add a pinch of red pepper flakes to the marinade for a kick of heat that complements the zesty sauce beautifully.
- Nutty Crunch: For extra texture, mix crushed nuts such as almonds or hazelnuts into the panko breadcrumb coating.
- Gluten-Free: Use gluten-free flour and breadcrumbs to make this dish suitable for those with gluten sensitivities, without sacrificing crunch.
- Citrus Variations: Try experimenting with different citrus fruits like lime or orange zest in the marinade for a refreshing change.
- Flavor Boosting: For an umami flavor boost, try adding a tablespoon of miso paste to the marinade mixture.
If you’re looking for a versatile meal that can impress at any gathering, Chicken Caesar Pasta and Japanese Chicken Yakitori are also fantastic options to consider. Embrace the joy of customization!
Expert Tips for Chicken Salmoriglio
-
Uniform Thickness: Ensure all chicken pieces are cut to a uniform thickness for even cooking; this prevents some parts from being dry while others are perfectly tender.
-
Don’t Overcrowd the Pan: Fry chicken cutlets in batches to avoid overcrowding, which can lead to steaming rather than crisping; give each piece ample space to develop that golden crust.
-
Fresh Ingredients Matter: Always opt for fresh garlic and lemon zest to enhance flavor; dried or bottled alternatives can dull the brightness of your Chicken Salmoriglio.
-
Sauce Freshness: Prepare the salmoriglio sauce ahead, but serve it fresh; this ensures the vibrant flavors truly shine when paired with the crispy chicken.
-
Storage Consideration: Leftover Chicken Salmoriglio can be stored in the refrigerator for up to three days; reheat in the oven to keep its delightful crunch.
-
Experiment with Herbs: Feel free to play around with fresh herbs like basil or cilantro for a personalized spin on the classic salmoriglio sauce, adding a unique touch to your Chicken Salmoriglio!
How to Store and Freeze Chicken Salmoriglio
Fridge: Store leftover Chicken Salmoriglio in an airtight container for up to 3 days. This keeps the chicken juicy while the crispy coating may lose its texture over time.
Freezer: For optimal freshness, freeze breaded chicken cutlets uncooked in a single layer on a baking tray, then transfer to a freezer bag. They can be stored for up to 2 months.
Reheating: To enjoy leftovers, preheat your oven to 350°F (180°C) and reheat the chicken on a baking sheet for about 10-15 minutes or until warmed through, ensuring a crispy texture.
Make-Ahead: You can prepare the marinade and bread the chicken in advance; simply store in the fridge for a few hours before frying, making your Chicken Salmoriglio easy to assemble for a busy weeknight dinner.
Make Ahead Options
These Chicken Salmoriglio cutlets are fantastic for busy weeknights or meal prep enthusiasts! You can prepare and bread the chicken up to 24 hours in advance; simply keep the breaded cutlets covered in the refrigerator to maintain their crunchiness. The zesty salmoriglio sauce can also be made ahead and stored separately for up to 3 days in the fridge, ensuring the flavors meld beautifully. When you’re ready to serve, just fry the chicken as instructed and bake until golden and crispy. This way, you’ll enjoy restaurant-quality Chicken Salmoriglio with minimal time spent in the kitchen—it’s a win-win for convenience and taste!
Chicken Salmoriglio Recipe FAQs
What type of chicken is best for Chicken Salmoriglio?
Absolutely! For this recipe, boneless and skinless chicken breasts are ideal as they ensure tenderness and convenience. If you prefer, you can also use chicken thighs for a juicier option, just remember they may take a bit longer to cook through!
How should I store leftover Chicken Salmoriglio?
Very good question! Store your leftover Chicken Salmoriglio in an airtight container in the refrigerator for up to 3 days. To preserve its crispy texture, I recommend reheating in the oven rather than the microwave.
Can I freeze Chicken Salmoriglio?
Definitely! To freeze, lay the uncooked, breaded chicken cutlets in a single layer on a baking tray to ensure they don’t stick together. Once they are firm, transfer them to a freezer bag【up to 2 months】. When you’re ready to cook, there’s no need to thaw; just fry them directly from the freezer!
What to do if my chicken is not browning in the pan?
No worries if your chicken isn’t browning as expected! This can happen if the pan isn’t hot enough or if it’s overcrowded. Ensure your skillet is preheated and add chicken cutlets in small batches. Fry for 2-3 minutes per side until lovely and golden before checking!
Can I make Chicken Salmoriglio ahead of time?
Absolutely! You can marinate the chicken and even bread it a few hours before frying. Just store your breaded chicken in the fridge; this way, you have everything ready to go for a quick dinner prep. For the sauce, it’s best prepared fresh, but you can mix the marinade in advance and store it, ready for combining with lemon juice and parsley!
Is Chicken Salmoriglio suitable for those with gluten allergies?
Yes, you can make this dish gluten-free! Simply substitute regular flour and panko breadcrumbs with gluten-free versions. It’s a delightful way to enjoy the crispy chicken without compromising on diet preferences!
Savory Chicken Salmoriglio: A Crispy Italian Delight
Ingredients
Equipment
Method
- Butterfly the chicken breasts and cut into even portions to ensure even cooking.
- Marinate the chicken with a mixture of lemon zest, garlic, olive oil, oregano, salt, and pepper. Let it sit for at least 1 hour.
- Preheat your oven to 400°F (200°C) and line a baking tray with parchment paper.
- Set up breading stations: flour, egg mixture, and a mix of panko breadcrumbs with Parmesan.
- Coat marinated chicken pieces by dredging in flour, dipping in egg, and pressing into the breadcrumb mixture.
- Fry the chicken in a mixture of butter and oil for 2-3 minutes per side until golden brown.
- Transfer chicken to the baking tray, brush with melted butter, and bake for 5-10 minutes or until cooked through.
- Mix the remaining marinade with lemon juice and parsley to create the salmoriglio sauce.
- Serve topped with salmoriglio sauce and garnish with lemon wedges.
Leave a Reply